Sunday, January 15, 2012

GALLEY PUMP REBUILD

Since the galley pump had to be removed for the "under galley clean up project", I decided to re-build the galley pump.  The pump is a Whale Gusher Galley Mk 3.  The re-build kit is readily available for the pump.  I purchased mine from Defender.com.

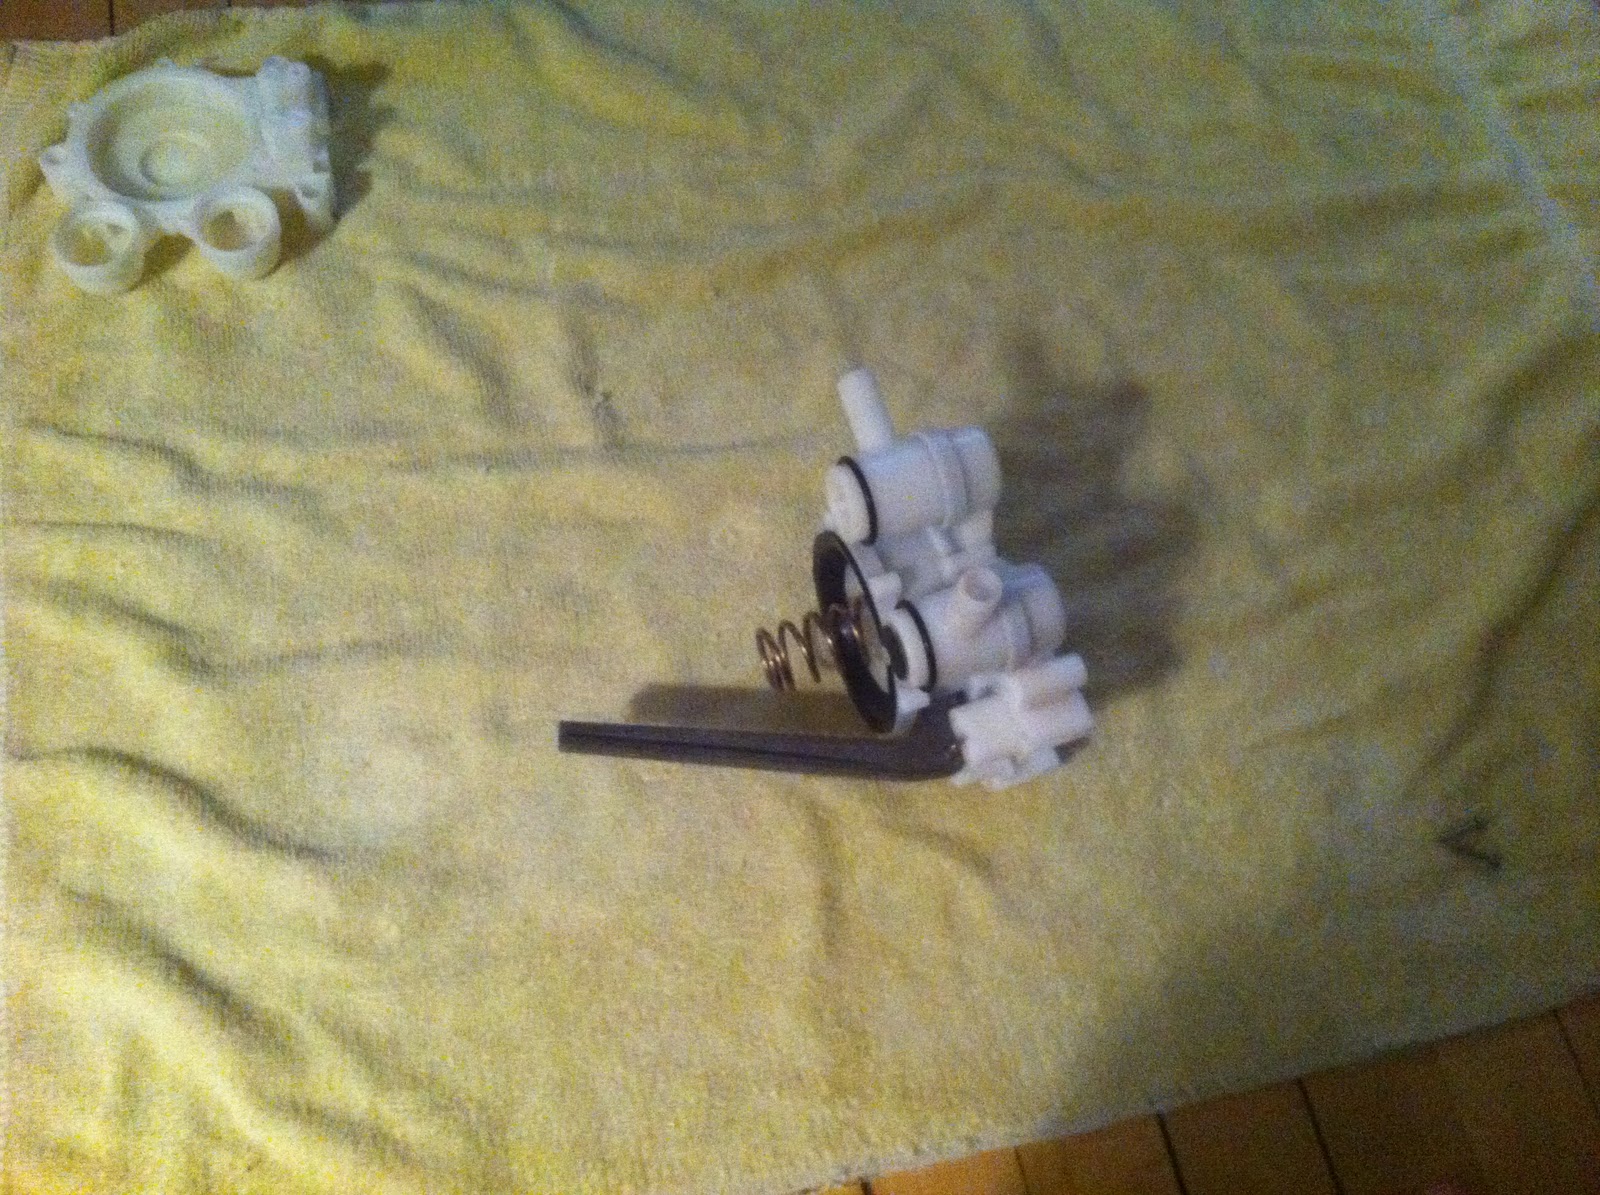
The pump is held together with a series of screws on either side of the pump.  The screws were removed and the pump disassembled.  From there, all of the rubber components to be replaced were removed.  Here is a picture of the disassembled pump.


Then the pump was put back together with all of the new parts supplied in the re-build kit.  First, the pump arm assembly was put together.


Then one pump cover was re-installed.


Then the intake and outtake valves re-assembled.


The intake and outtake valves were installed to the pump housing and the pump spring installed.


And the other side of the pump housing screwed into place.


Sunday, January 8, 2012

UNDER THE GALLEY

I began replacing rotten pieces under the galley today.  I tackled the lower shelf first.  A new shelf was cut out of marine grade plywood using the old shelf as a template.  This proved quite effective as I was able to not only get the shape of the plywood exact, but also able to pre-drill screw holes that matched the old holes for attachment of the shelf to the hull.


The original shelf attached to the hull with a series of screws along one edge of the shelf while one end of the shelf was attached to a cleat mounted to a bulk head.  The cleat was not attached well and had rotted out.  I decided to attach the shelf to two new cleats made of star board so that the cleats would not rot out again.  I also located the cleats in a different location so that there was more support for the shelf compared to the original support.

First, I temporarily positioned the shelf into its intended position and marked the top edge of the shelf on the adjacent fiberglass.


I then installed two cleats below this line by a distance of the thickness of the shelf.


The shelf was then fastened to the hull and the cleats.


Then it was on to the top shelf.  The top shelf was in reasonably good condition, although very dirty from years of use.  The support cleats were not in great conditions, so I decided to replace them.  Two new cleats were fabricated out of starboard and fastened to the adjacent bulk heads.


And then the shelf installed and screwed to the cleats.


Then everything was taken apart.  I will next be priming this entire area (fiberglass and shelves) with Interprotect 2000e and then finish coating the area with a coat of paint.

RUDDER LAY-UP - SIDE 1

Over the last week, the first side of the rudder was laid up.  The rudder was first laid out on a sturdy working table.  Since the majority of the rudder had been cut away, there was quite a bit of flex in what was left behind.  So the first step was to make sure the rudder was straight.  A string line was set up on either side of the rudder and the leading and trailering edges shimmed until both were straight.

Then it was on to putting everything together.  Working off of the existing inner core, several layers of glass were laid to provide a relatively level contoured surface for new balsa core to rest into.  I'm using vinylester resin for the layup.  The balsa was laid into the glass and resin.  The voids between the balsa and adjacent surfaces were filled with Mar-Glass.  Then several (five, I think) layers of biaxial fiberglass cloth were layed over the balsa.  All of these parts and pieces were cut and dry fit prior to the lay up to get the profile close to the desired final profile of the rudder.

Once the lay-up was complete, I put together a make-shift vacuum bag system.  This consisted of, first, a layer of wax paper.  Then a layer of terry cloth towels to ensure air flow across the rudder.  On top of that, a layer of plastic was laid with the edges taped to the perimeter of the rudder.  Then a vacuum / vacuum hose was cut and taped into the plastic.  The vacuum was activated and run until the resin had begun to set.


The vacuum bag system was removed the next day, after the resin had cured out.


The finished surface will be ground down and faired out after I have laid up the other side of the rudder. Laying up the other side of the rudder will be the next step in the process.

Saturday, December 24, 2011

RUDDER TEMPLATE

Last weekend, I cut a template for the rudder.  The dimensions for the template were taken from the J/30 class specifications and laid out on a piece of plywood.  Then the template was rough cut with a jig saw and finished off with a hand held belt sander.

When the template was laid on the rudder, it was apparent that the rudder was a bit fat in the center.  I think this is a relatively common condition for the J/30 rudder coming from the factory.  In the attached pictures, you can see the profile of the leading and trailing edges of the rudder holding up the template from being able to sit flush on the leading and trailing edges.


I've started to taper the leading and trailing edges by grinding down the fiberglass. I have one side nearly complete and will be starting the other side very soon.

Monday, December 12, 2011

WOODWORK & UNDER-SINK NASTINESS

We dove into a couple of new projects on the winter list this past weekend.  Our friend Mary volunteered to refinish the interior woodwork, I think before she realized what she was getting into.  And if nothing else, certainly before she realized I hadn't cleaned everything out of the boat yet from the summer season which meant many trips up and down the ladder emptying the boat before sanding could begin.  Sorry Mary!

And why are we refinishing woodwork?  Over the years, there had been a few leaks in the boat, mainly from the handrails and the windows.  The leaking has stained and damaged some of the woodwork finish.  So, it's time to take care of the damage.  Most of the mahogany is in decent shape, so not much finishing will be needed of mahogany.  Much of the white ash, however, needs to be refinished.

Areas adjacent to woodwork were taped off so that the surfaces would not be accidentally damaged while we were sanding.


Yes, that is the sink you see in this picture.  When we got into the project, I realized it would be easier to refinish the woodwork around the stove with the stove and gimbal removed.  Being that the stove is in close proximity to the sink, this reminded me that I also needed to fix a leak on the sink drain.  So I started to take apart the sink drain, which instantly crumbled into about five pieces.  In addition, the drain hose was not in the best of condition, so out the hose came as well.  The bottom of the sink was corroded, so I decided to take the whole thing out so it could be cleaned up and repainted.


And, of course, since I was under the galley, this reminded me that I had wanted to clean up and repaint the area under the galley.  There are two shelves in this area.  One was in decent condition while the other showed significant signs of deterioration.


The one on the left in this picture will be painted (in lieu of re-varnishing) while the one on the right will be rebuilt and painted.

A picture of the area under the galley after removal of the shelves is below.  The foot pump for the sink faucet attaches to the lower shelf.  This entire area under the galley will be repainted.

Monday, November 28, 2011

RUDDER REPAIR

The first project of the winter season has begun.  The rudder has had signs of failure since I had purchased Hullabaloo several seasons ago.  The boat survey completed around the time of purchase indicated there was moisture in the rudder.  Several seasons back, I had tried to dry the rudder out by drilling a series of holes in the outer skin and running a heat lamp for about six weeks then glassing the holes up.  Turns out this did not work.

The most significant visual sign of failure was a crack in the leading edge of the rudder between the gudgeons.


Weighing the rudder resulted in a total weight of 75 lbs.  Most dry J/30 rudders are weighing in at 60-65 lbs., so this meant the rudder was likely carrying 10-15 lbs. of water weight.

Checking the rudder with a moisture meter revealed significant moisture in the rudder.   The meter I use runs a range from 0% to 30%.  Typically, anything under 10% indicates very dry core material.  10%-15% is slightly damp.  15%-20% is noticeably damp.  Anything over 20% you can usually squeeze water out of the core material.

I mapped out the moisture on the rudder and made markings of the moisture content on the rudder with a sharpie marker.  There were only a few moisture readings under 20% with the majority of readings being in the upper 20's and many readings pegging the needle of the moisture meter at its maximum.


I thought about several potential options:  1-Repair the rudder ($300-$500), 2-Build a new rudder ($300-$600) Purchase a new rudder ($2,000+).  Option 1 is the direction I have decided to go, primarily because of cost.

The first step was to remove the skin of the rudder.  I drilled holes at the leading and trailing edges of the rudder to determine where the balsa core started and stopped (the leading and trailing edges of the rudder are solid fiberglass).


Once the extents of the balsa core were determined, I made a grid of cuts in the skin with a circular saw set to a depth that cut through the skin and slightly into the balsa core.


From there, the skin and balsa core were carefully pried and chiseled off with a pry bar and hammer, attempting to take care to not damage the inner core of the rudder.  The inner core in this rudder appears to be some type of a resin/composite filler.  The inner core, in a few locations, is cracked.  This is presumably due to moisture in the rudder and previous winter storage seasons where the rudder was exposed to freezing and thawing.


A few pictures of the rudder with the skin removed and the remains of the skin and balsa core.



Wednesday, June 1, 2011

SUNSET

The first good sunset of the season.